
CNC 1610 Improvements
Description
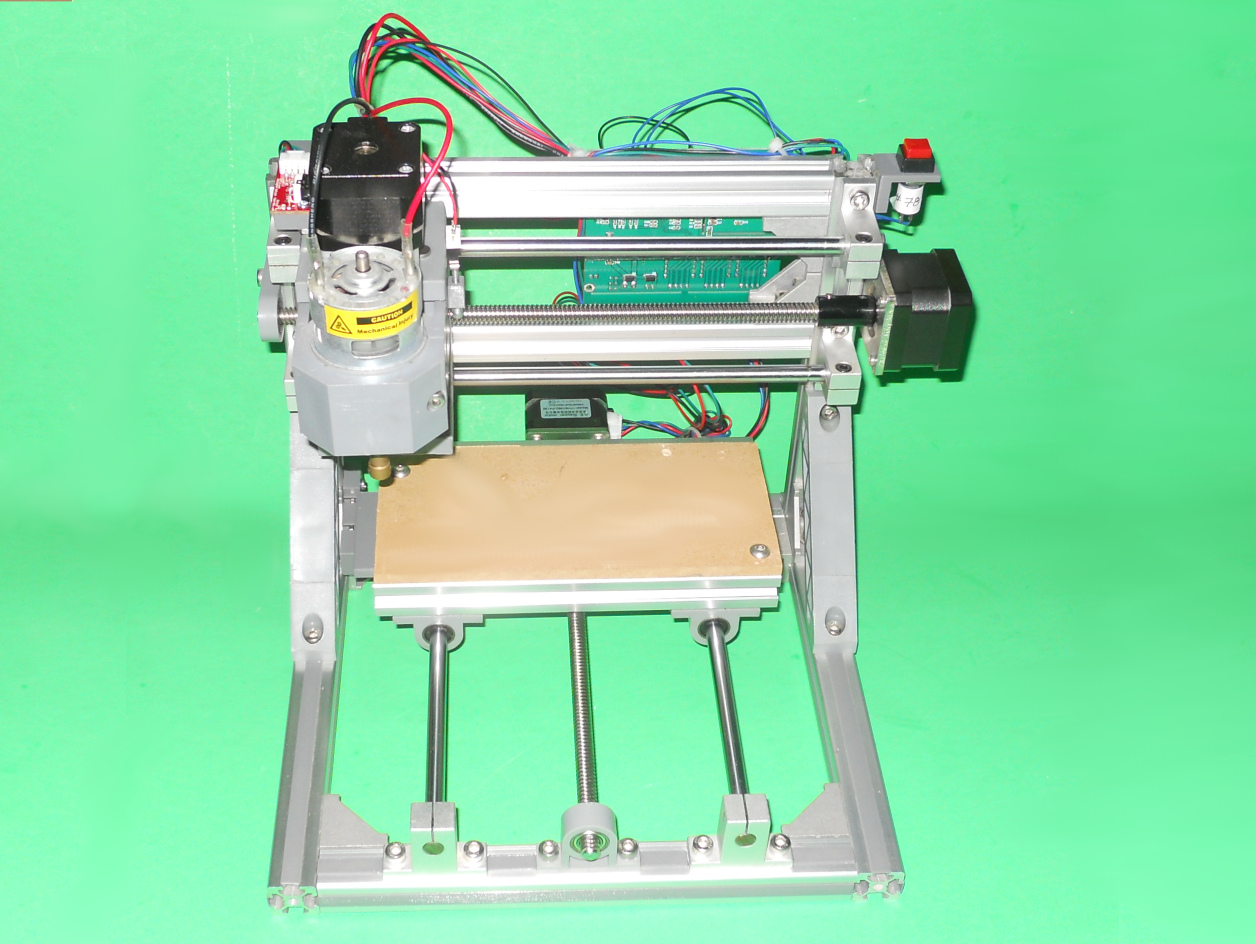
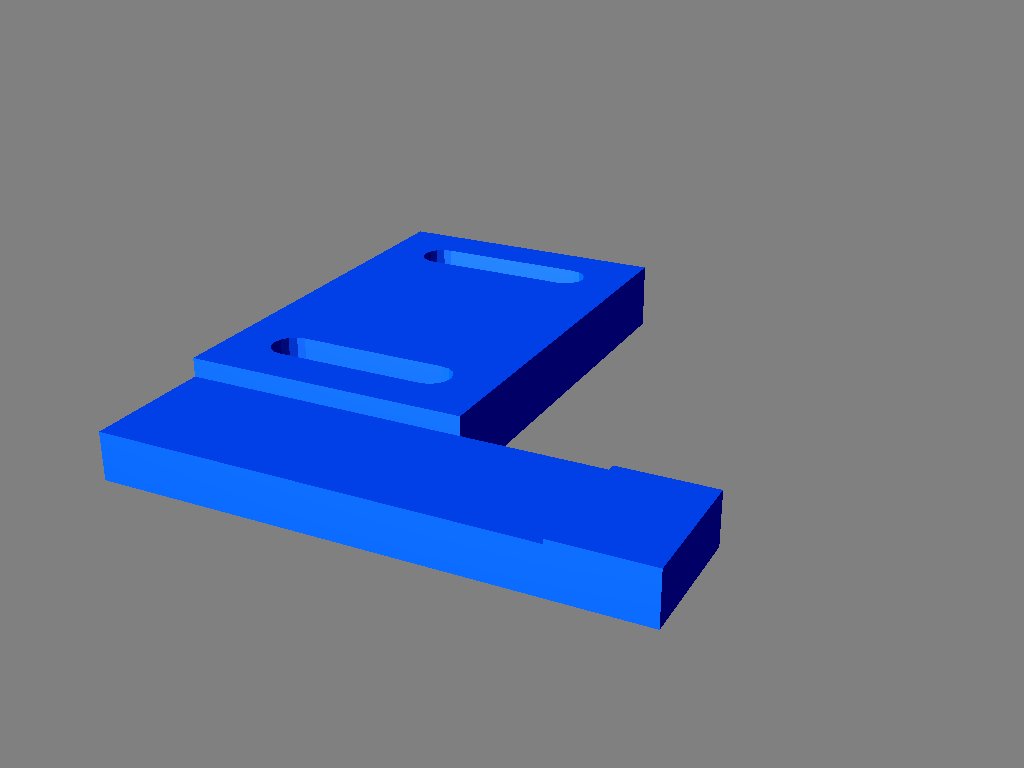
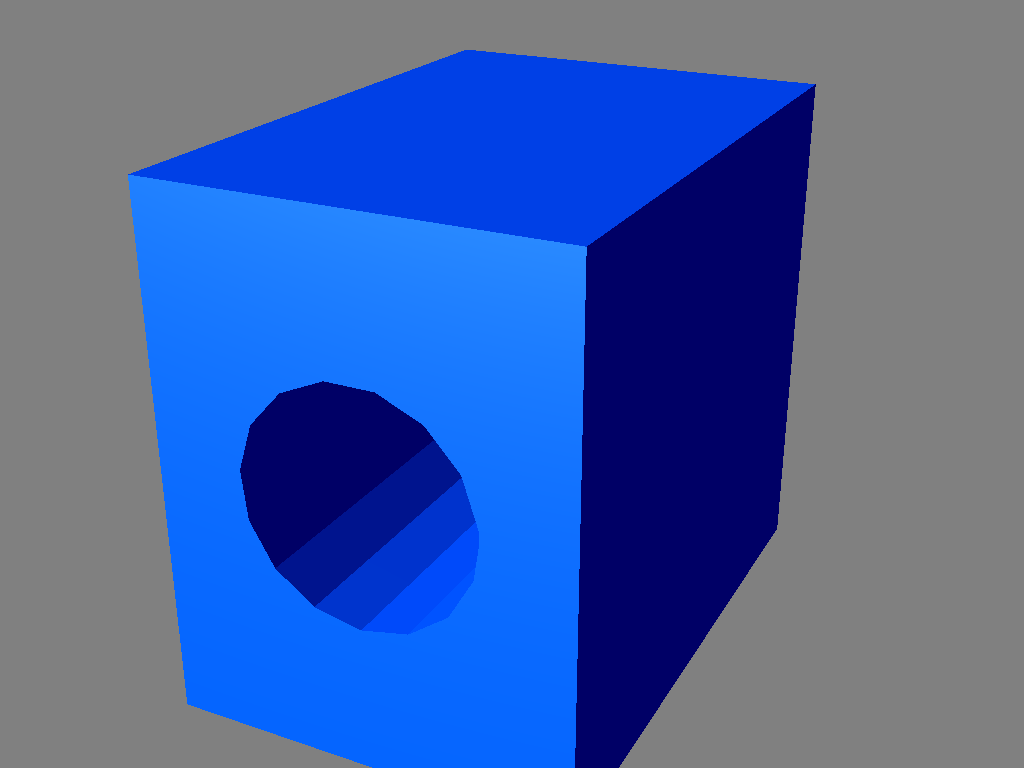
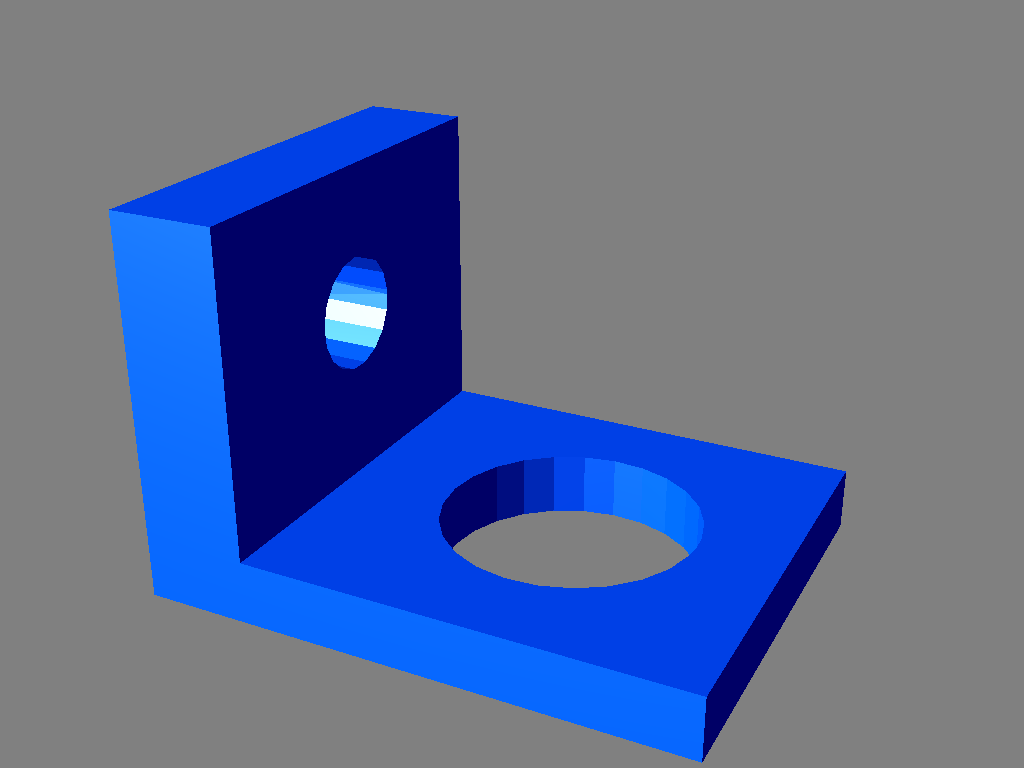
This project contains 5 improvements for a 1610 CNC. These improvements were inspired by the following YouTube videos of JJ Hontebeyrie:
1. Extrusion slot covers
I've used the following project to cover most of the extrusion slots: https://www.thingiverse.com/thing:4641897 . Print the 100 mm long one and scale it in the slicer to get the length you need.
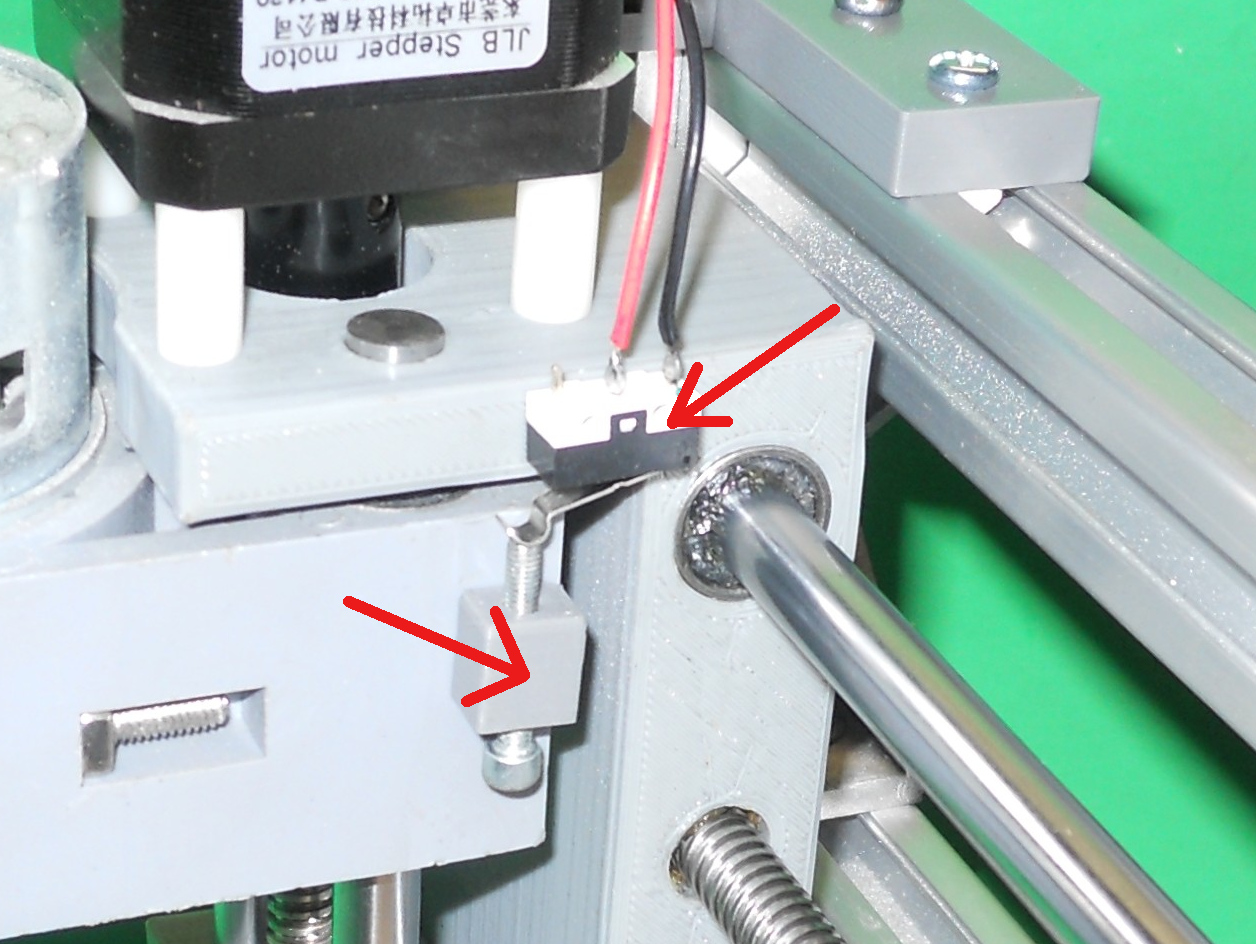
2. Z-axis endstop
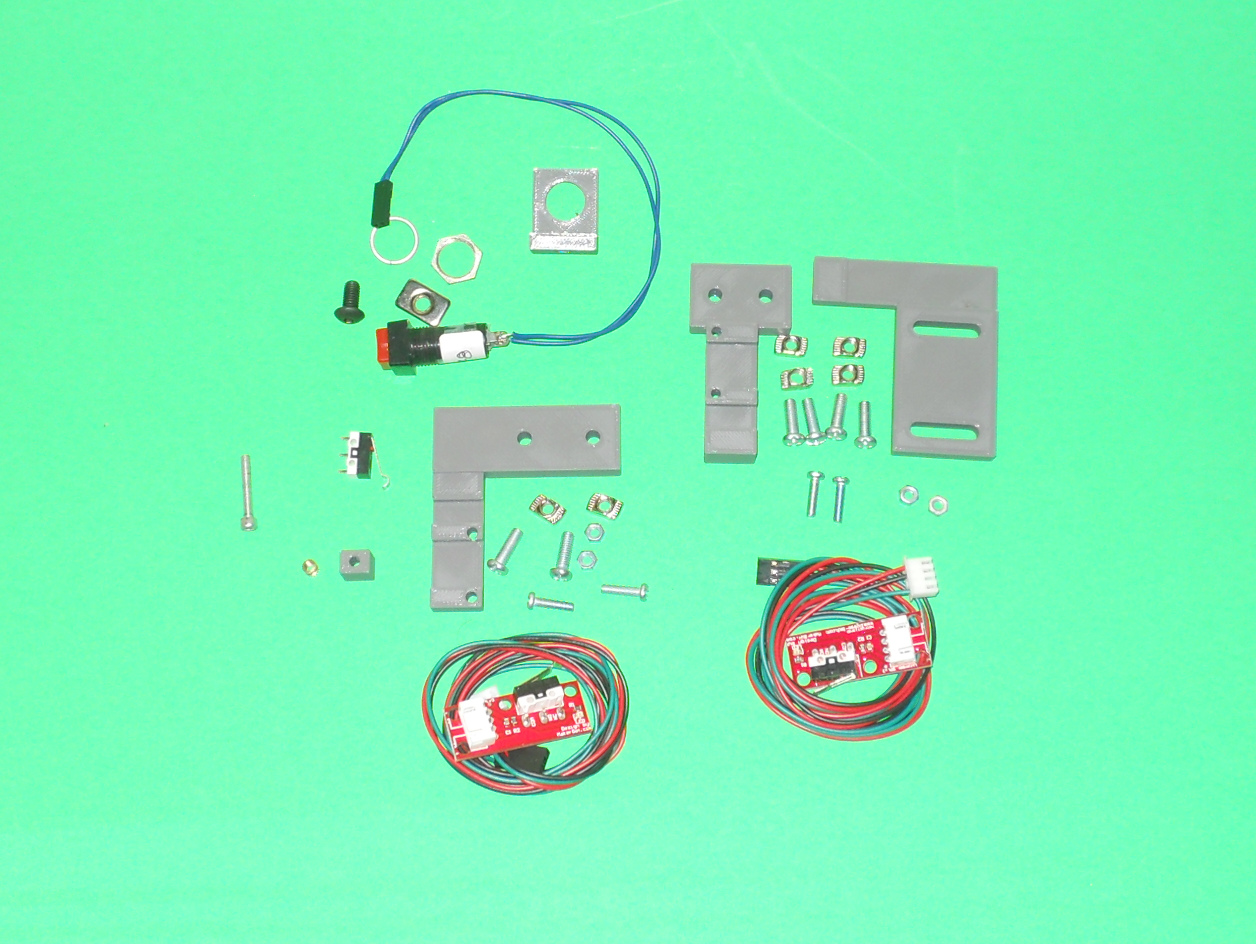
The sensor must be plugged on the Zen pins of a Woodpecker GRBL board. You will need the following material:
- One EndStopZBumper.stl printed part
- One micro switch. You can remove the one on a Makerbot style end-stop.
- One M3 x 20 mm screw
- One M3 x 5 mm brass insert
- Some wire, terminated with Dupont female connectors at one end
- Some Super Glue
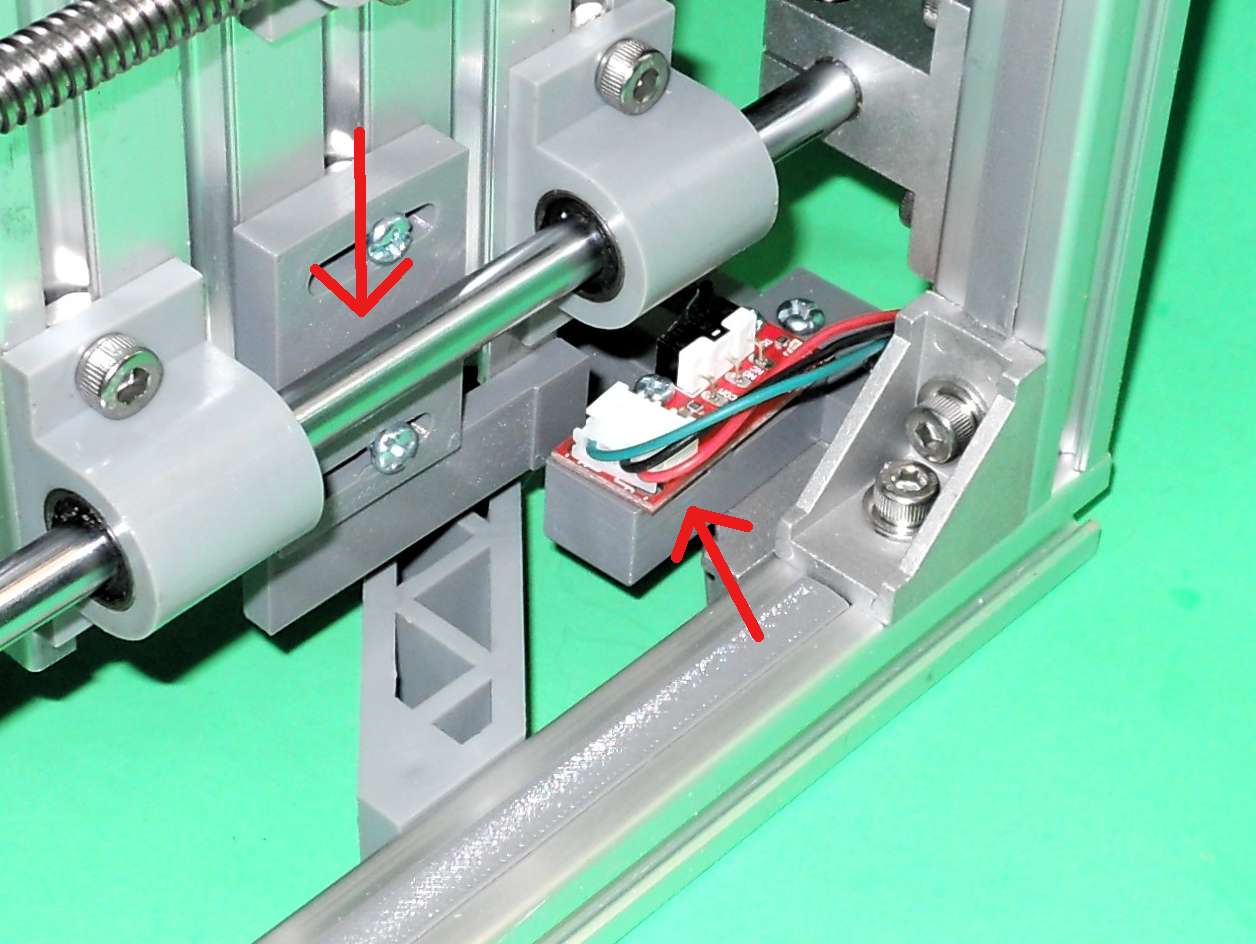
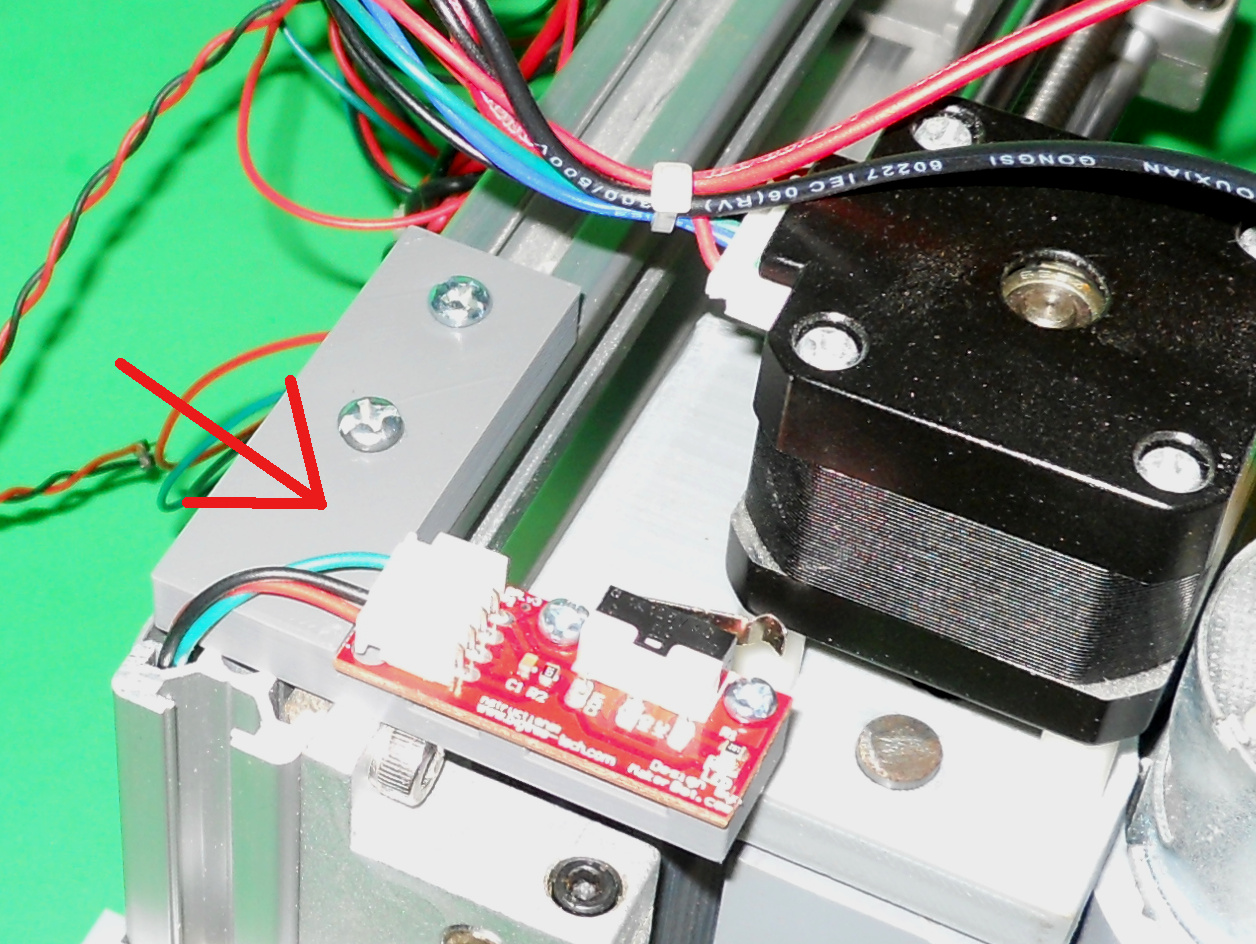
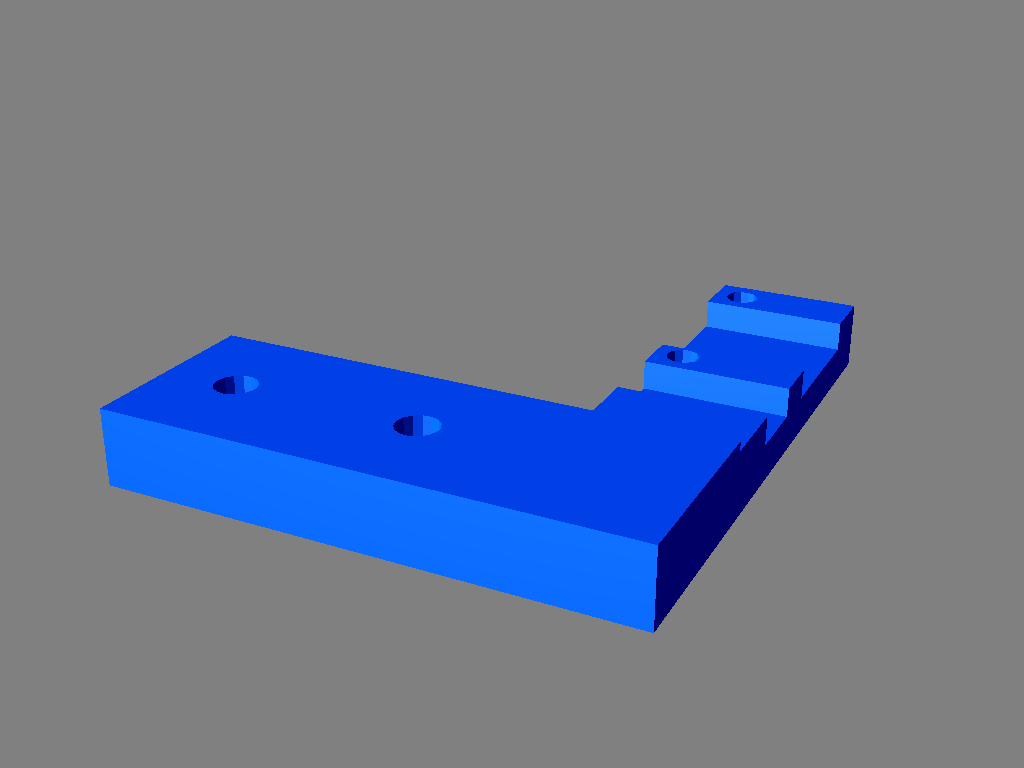
3. X-axis endstop
The sensor must be plugged on the Xen pins of a Woodpecker GRBL board. The red wire should be left unplugged. You will need the following material:
- One EndStopXAxis.stl printed part
- One Makerbot style end-stop along with the connecting wires
- Two M4 x 12 mm screw
- Two M4 T-nuts
- Two M3 x 12 mm screw
- Two M3 nuts
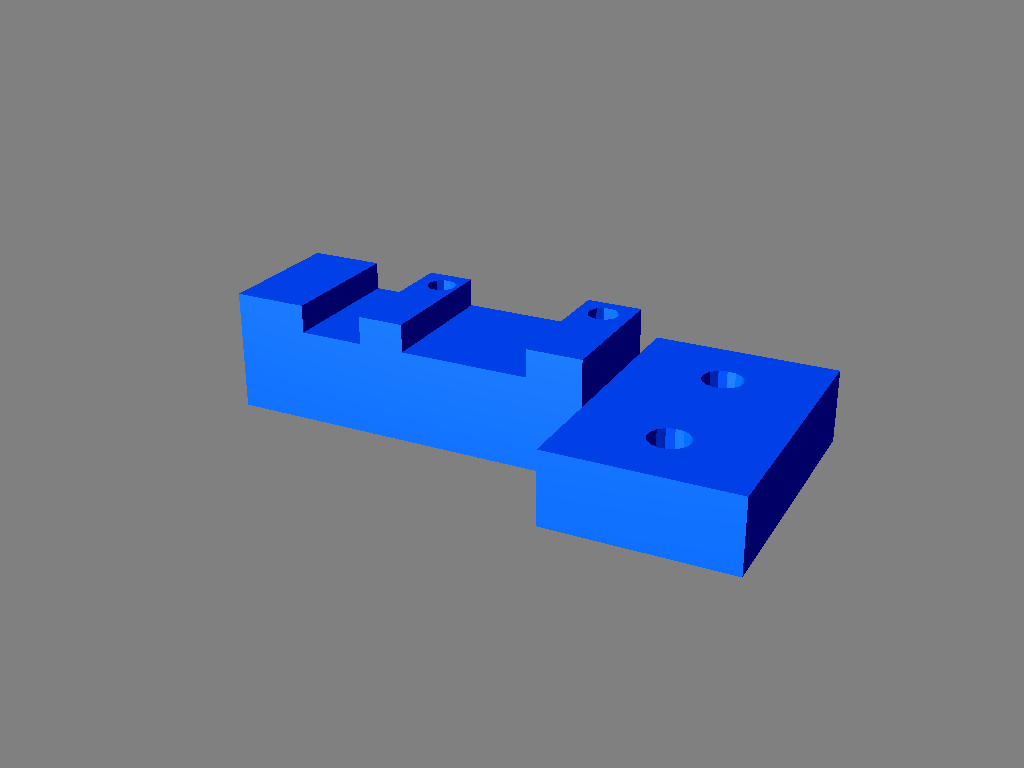
4. Y-axis endstop
The sensor must be plugged on the Yen pins of a Woodpecker GRBL board. The red wire should be left unplugged. You will need the following material:
- One EndStopYAxis.stl printed part
- One EndStopYBumper.stl printed part
- One Makerbot style end-stop along with the connecting wires
- Two M4 x 12 mm screw
- Two M4 T-nuts
- Two M3 x 12 mm screw
- Two M3 nuts
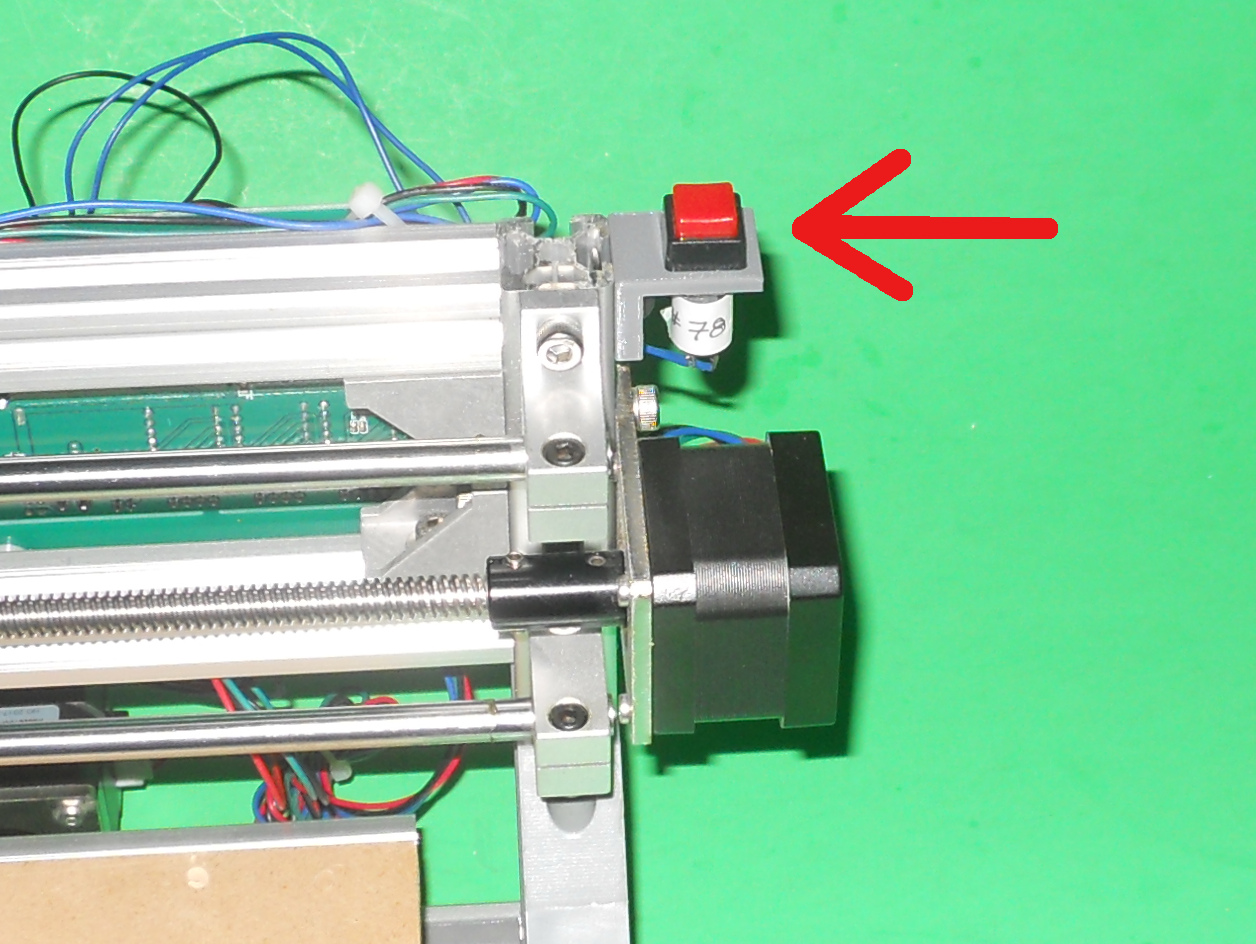
5. Emergency stop switch
The sensor must be plugged on the A0 pins of a Woodpecker GRBL board. You will need the following material:
- One EmergencySwitchHolder.stl printed part
- One 12 mm in diameter normally open switch
- One M4 x 12 mm screw
- One M4 T-nuts
- Some wire, terminated with Dupont female connectors at one end
You will have to use the command $21=1 to enable the limit switches. You may need to use the command $23 if an axis does not go in the proper direction after doing a HOME command.
For the printed parts, support material is not required. An infill of 20% is recommended.
This object was designed using Solid Edge Community Edition.
Files
|
|
EndStopZBumper.stl |
|
|
EndStopXAxis.stl |
|
|
EndStopYAxis.stl |
|
|
EndStopYBumper.stl |
|
|
EmergencySwitchHolder.stl |
This object is also published on the following site(s):
This project is distributed under the Creative Commons - Attribution - Non-Commercial - Share Alike (CC-BY-NC-SA) license.
Copyright 2012–2026, Claude "Tryphon" Théroux
Leave a Comment