SBC Server Case V2

Description
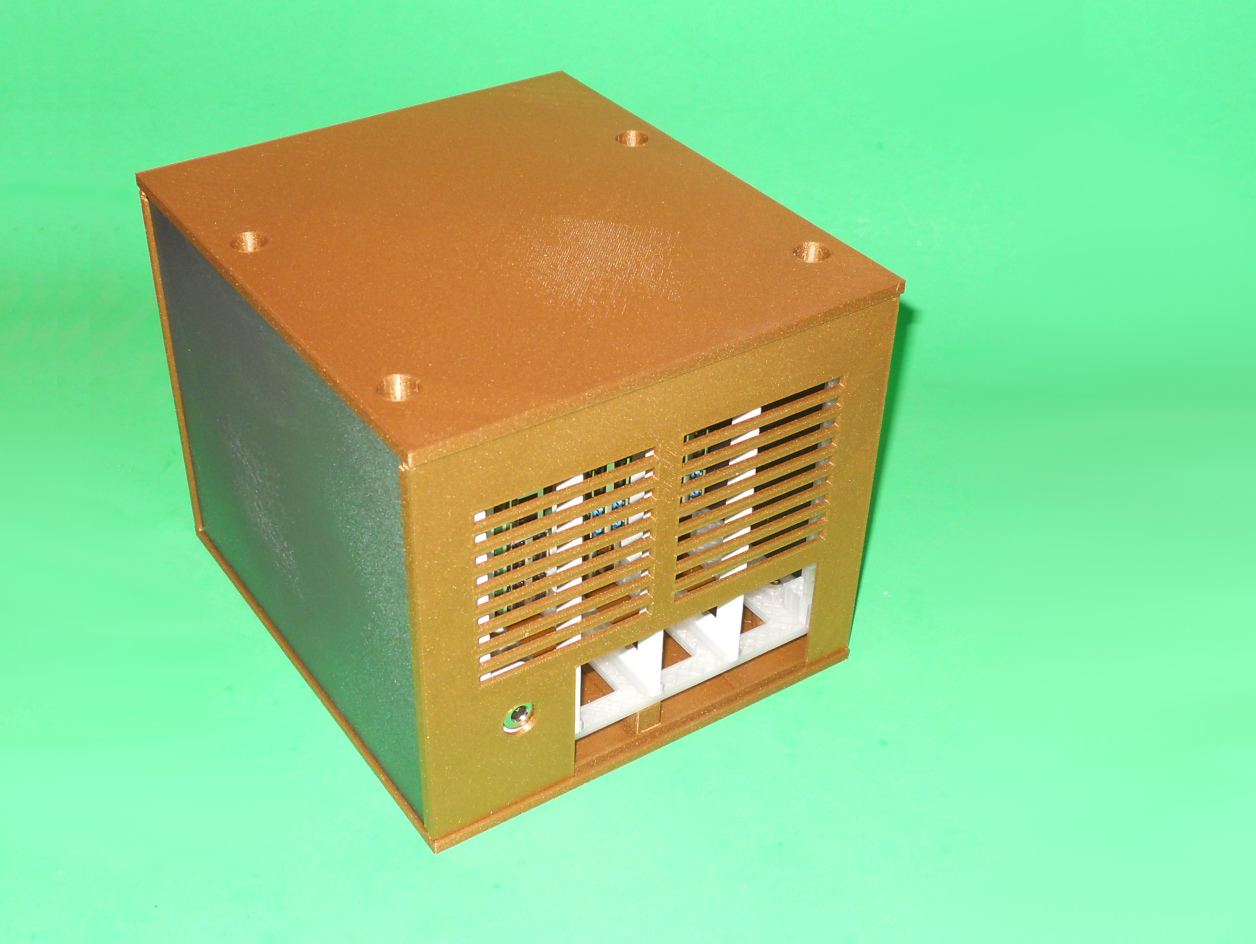
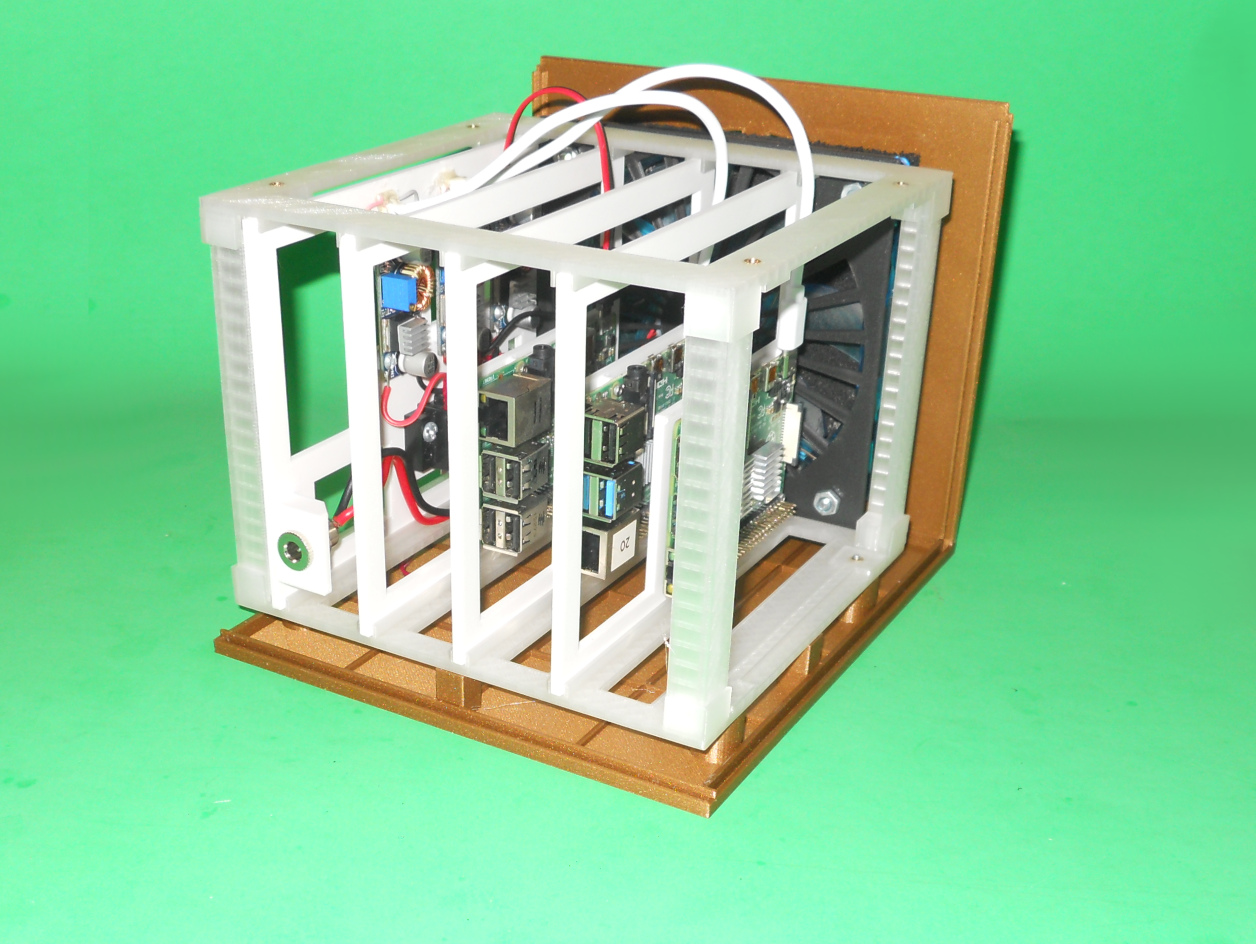
This is a modular Single Board Computers enclosure for up to 4 devices. The device cards are held vertically. This design let you service one card without having to remove the cards on top of it like in the previous design (https://www.thingiverse.com/thing:4700165). This new design can still hold up to 4 cards containing Raspberry Pi, Arduino's, ESP32, hard drives, etc. My server case contains a firewall, a DNS and DHCP server and my IOT management system.
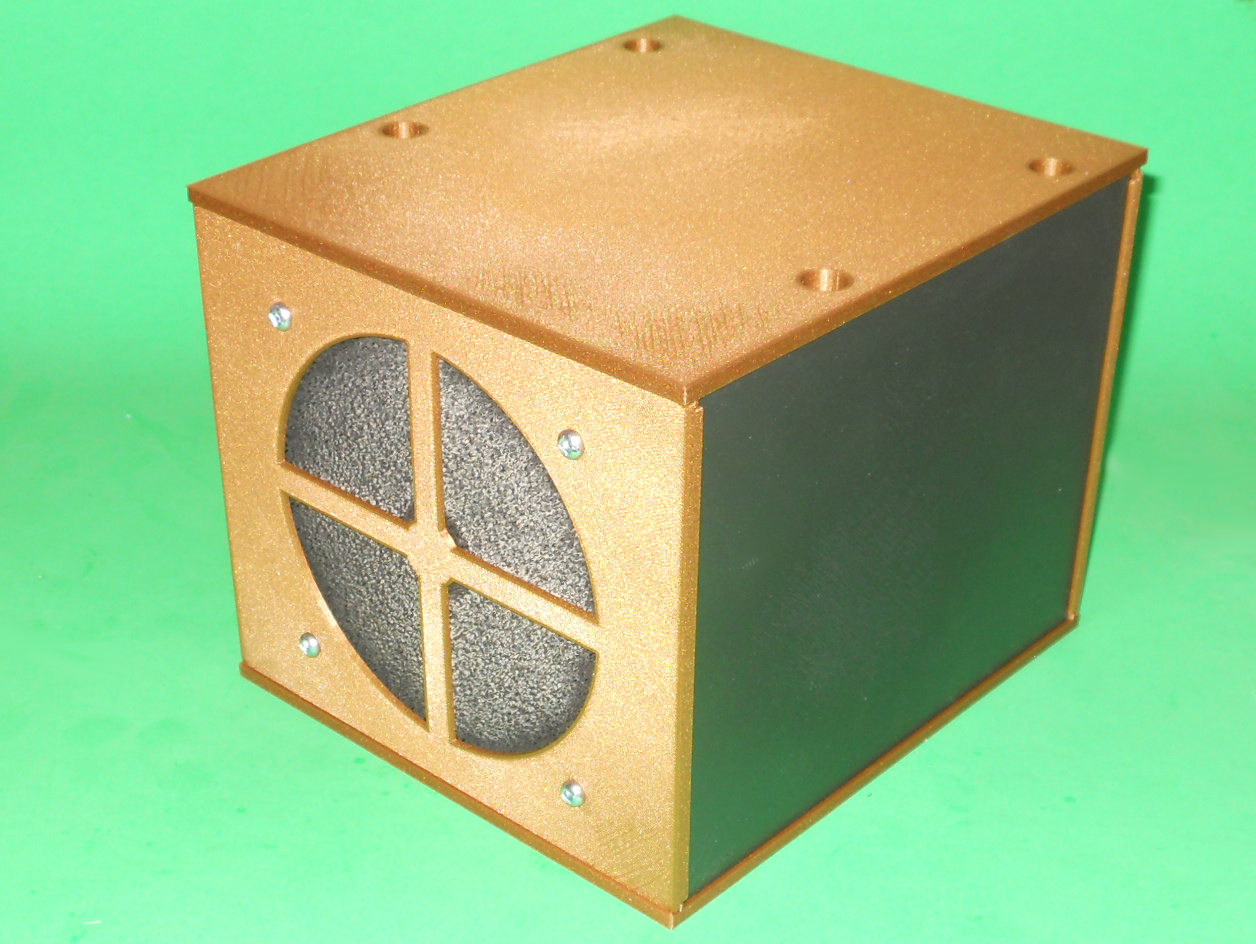
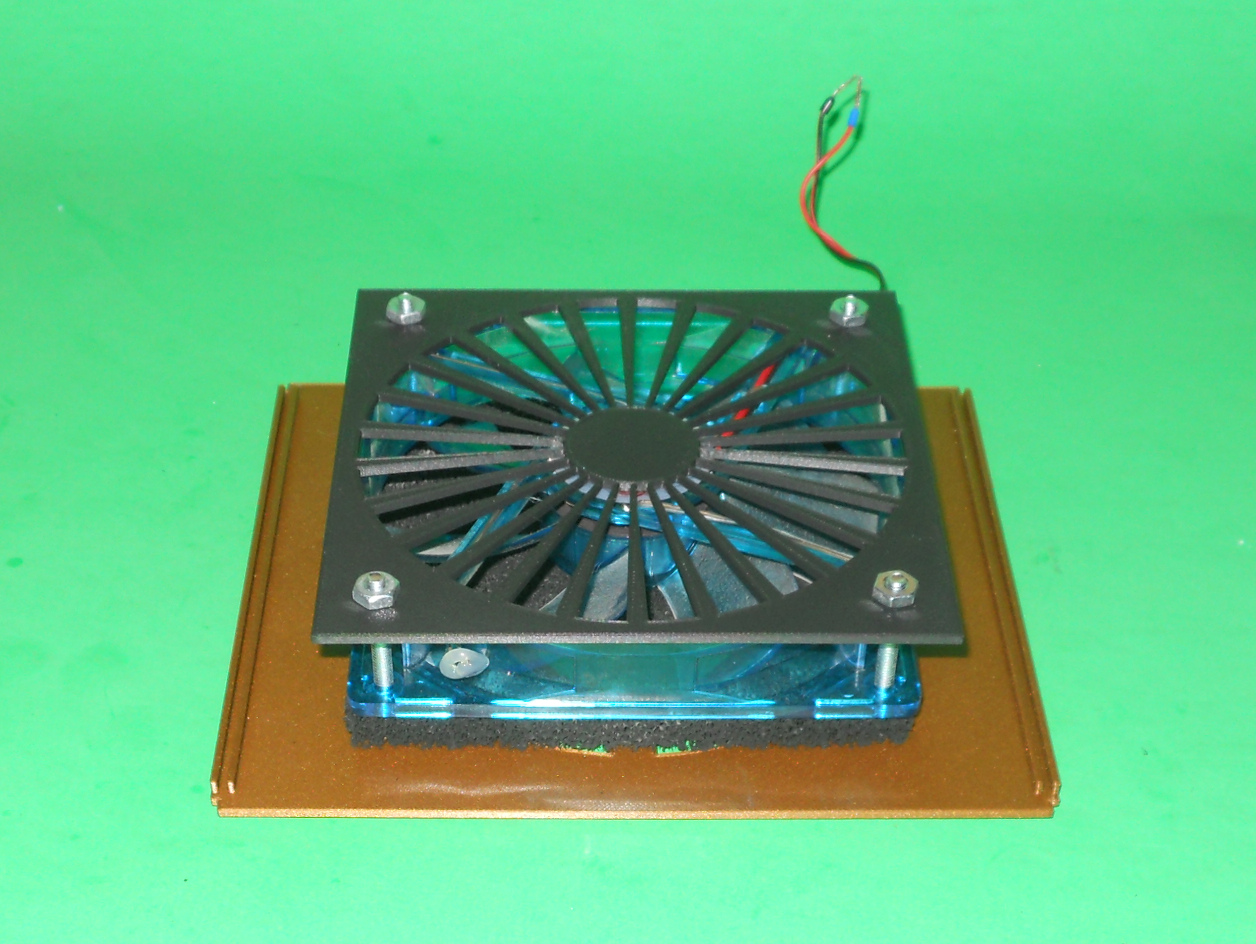
The whole case is powered using a single 12V power brick. The cooling of the content of the case is provided using a single 120 mm 12V computer fan.
You may need some cards not provided yet. Feel free to contact me if you need some cards. As of today, cards are available for a Raspberry Pi 3/4 and buck converters. It holds up to 3 XL4005 based buck converter to supply the Raspberry Pis.
A card is 12 cm by 15 cm. The distances between the cards is 3 cm.
Support material is required for the outer shell bottom (CaseBottom.stl) and top (CaseTop.stl) parts. An infill of 20% is sufficient for all parts except for the top (CardCageTop.stl) and bottom (CardCageBottom.stl) card cage parts which requires an infill of 40%.
BOM for my usage is:
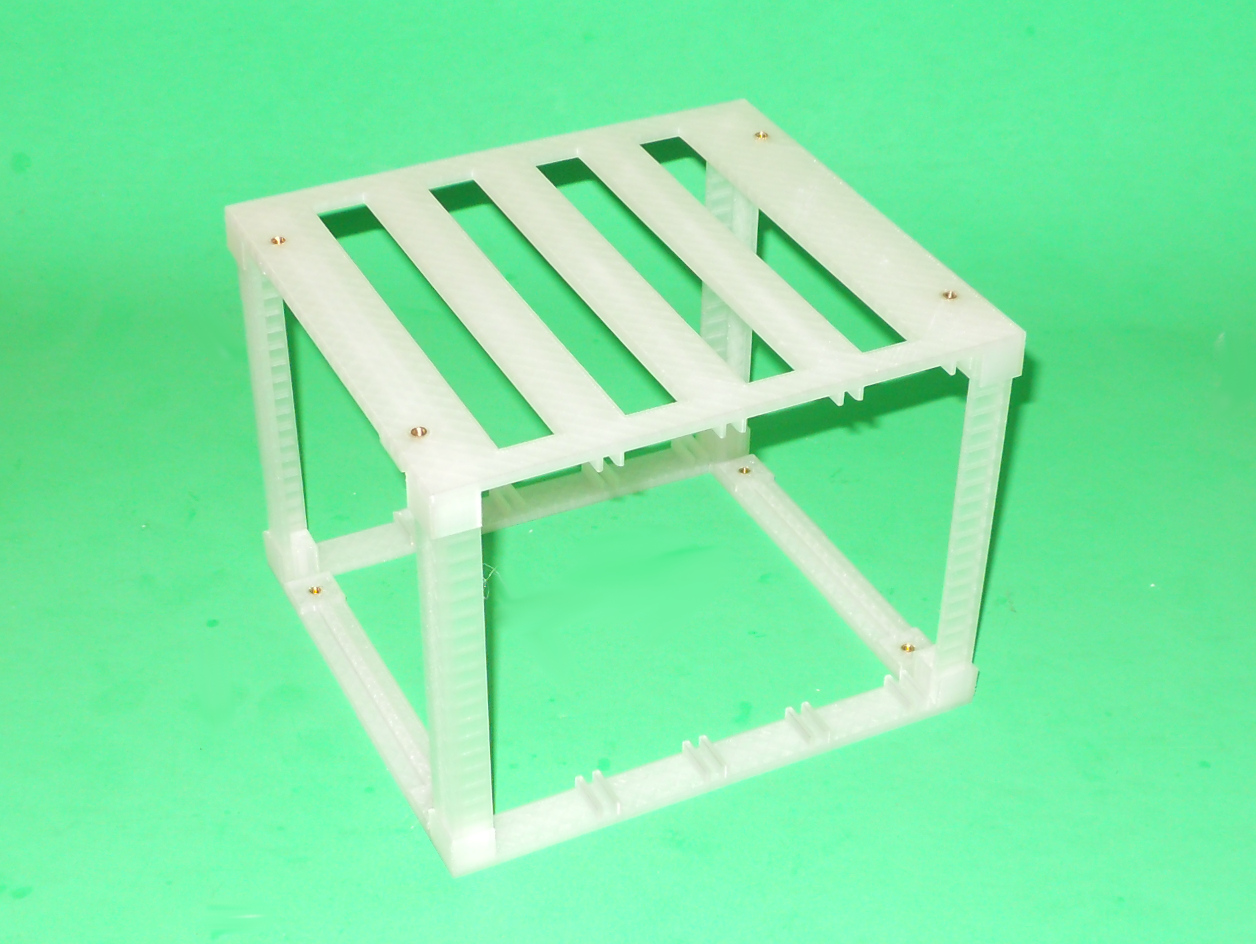
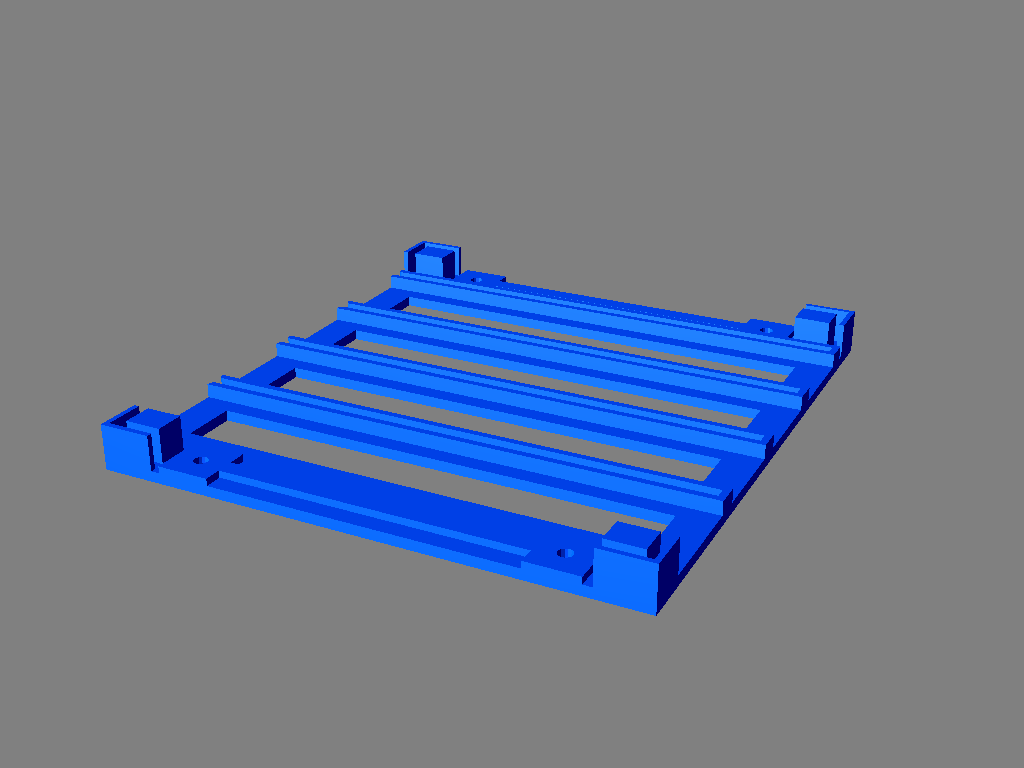
Card cage
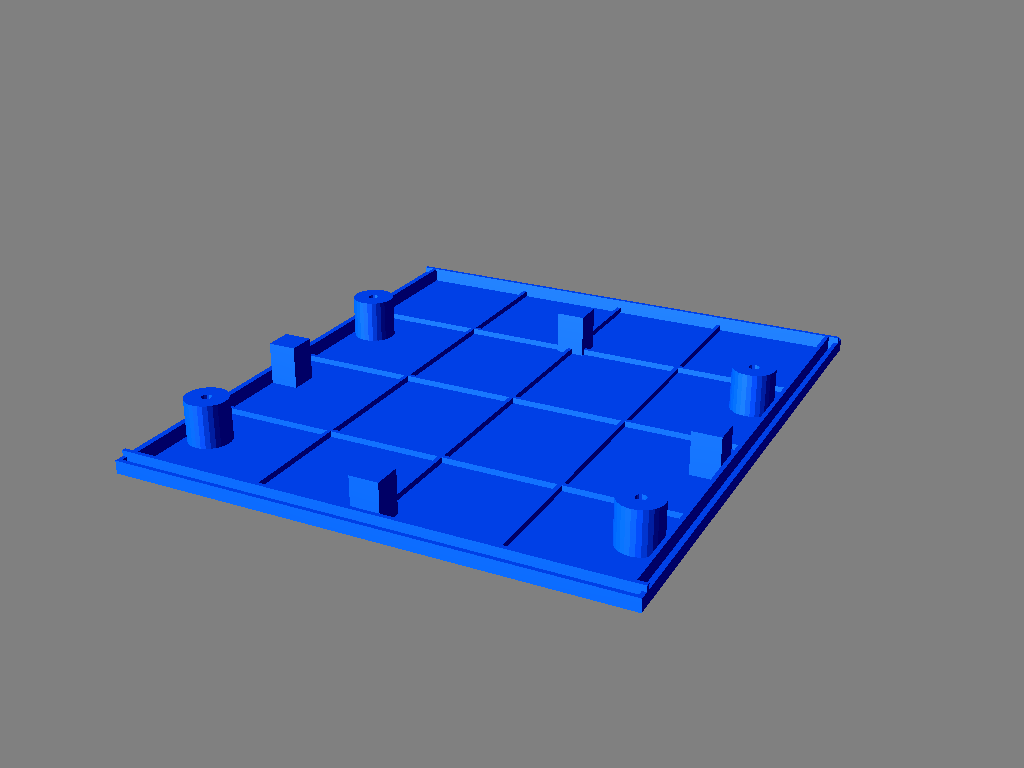
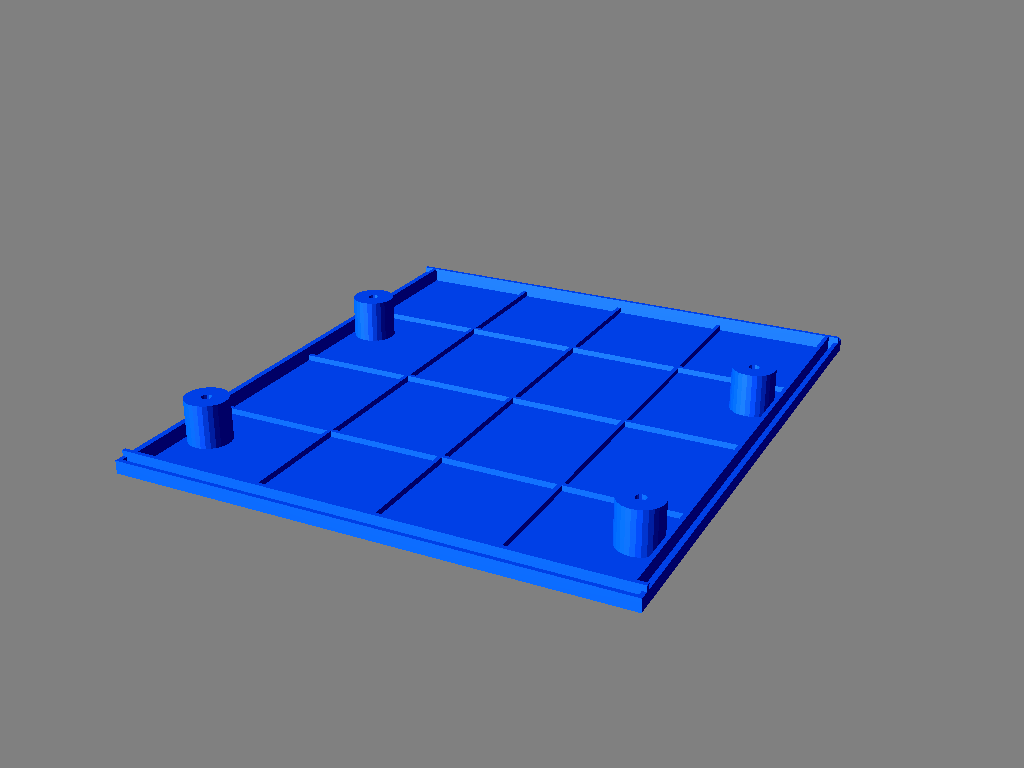
- one CardCageBottom.stl
- one CardCageTop.stl
- four Post.stl
- 8 x M3 brass inserts for the top and bottom of the tray cage that will hold the outer shell
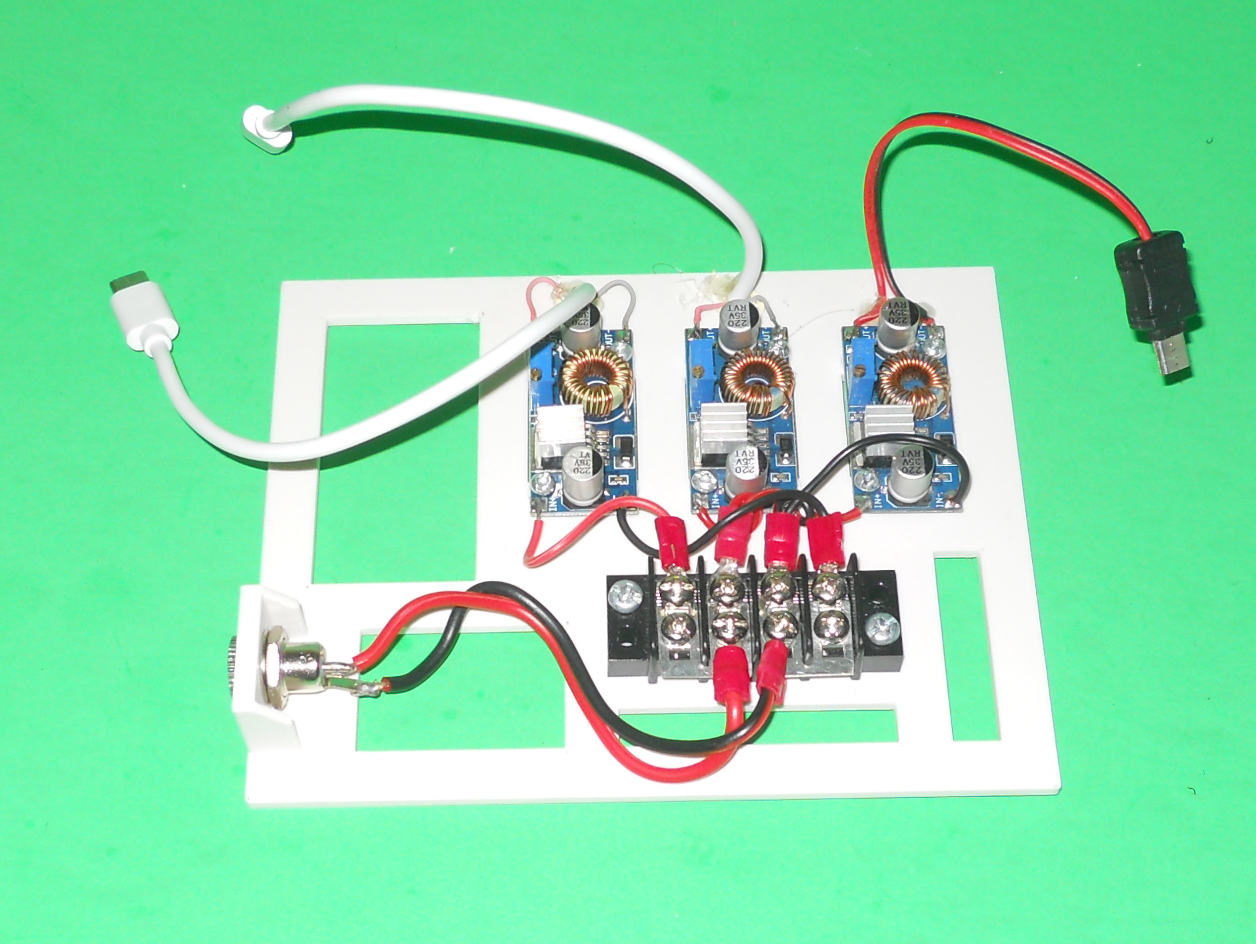
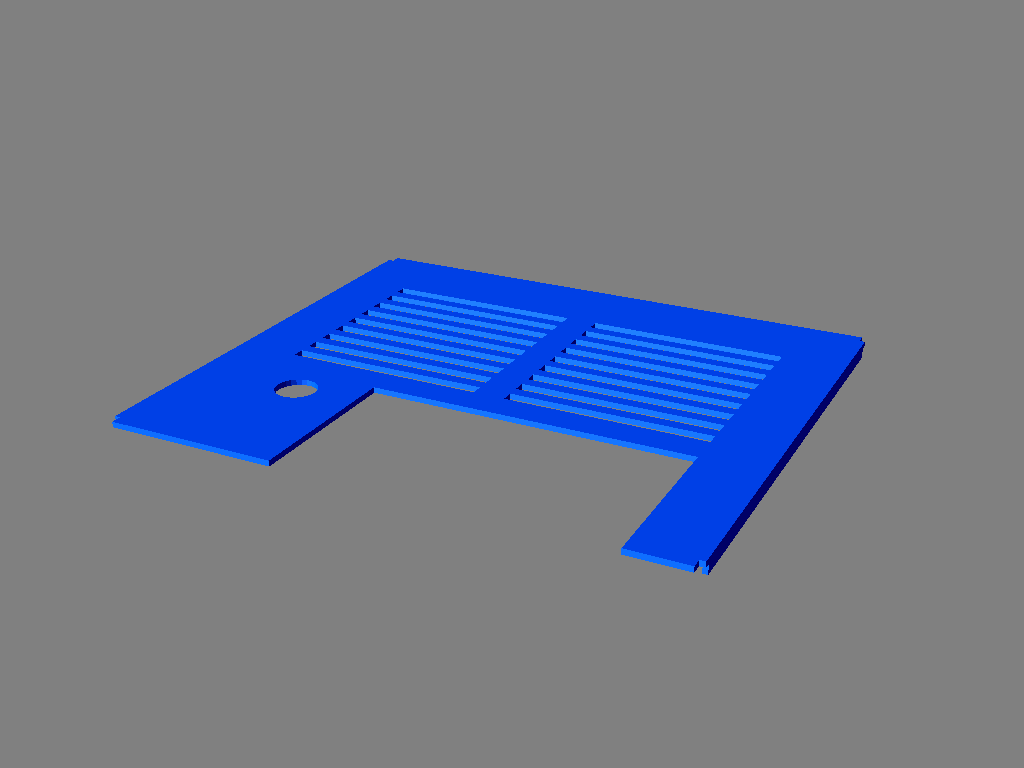
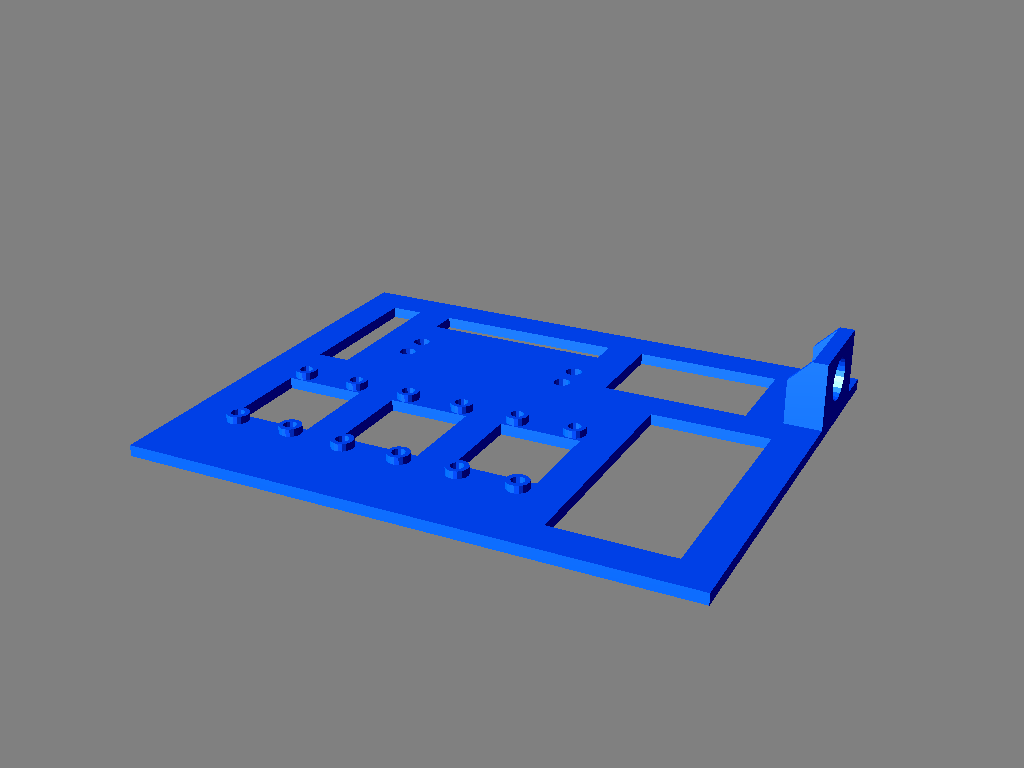
Power card
- one power supply card (Power Supply Plate.stl)
- 1 x female 5.5 / 2.5 power jack, 10 mm in diameter (up to 13 mm???)
- 3 x XL4005 based buck converters
- 1 x 4 by 2 terminal block
- 2 x terminal block jumper strips
- 3 x USB male connector kits. The USB type depends on the content of the 3 others cards.
- 6 x #4-40 bolts, 3/8" in length
- 6 x #4-40 nuts
- 2 x #8 bolts, 1/2" in length
- 2 x #8 nuts
- some wires
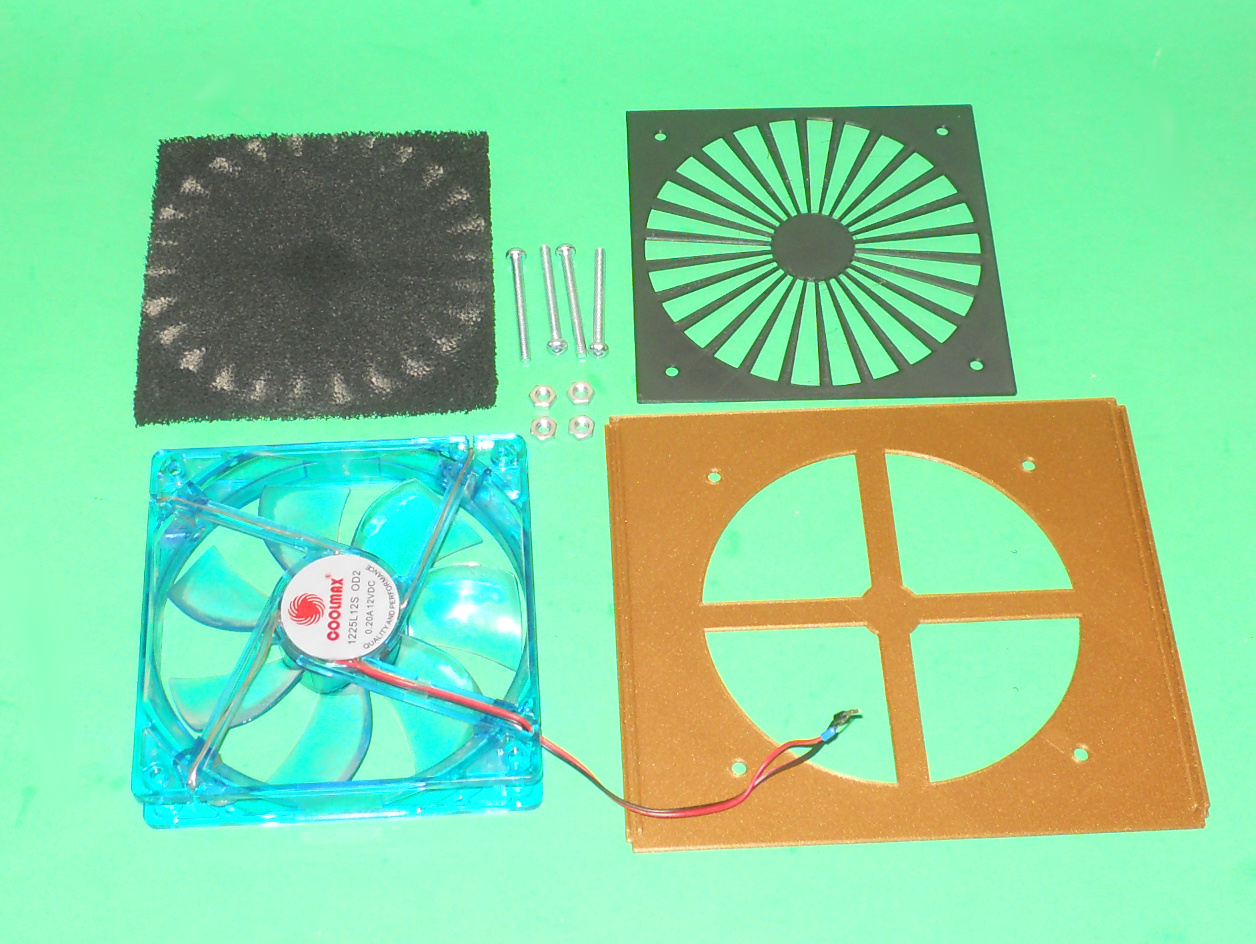
Fan module:
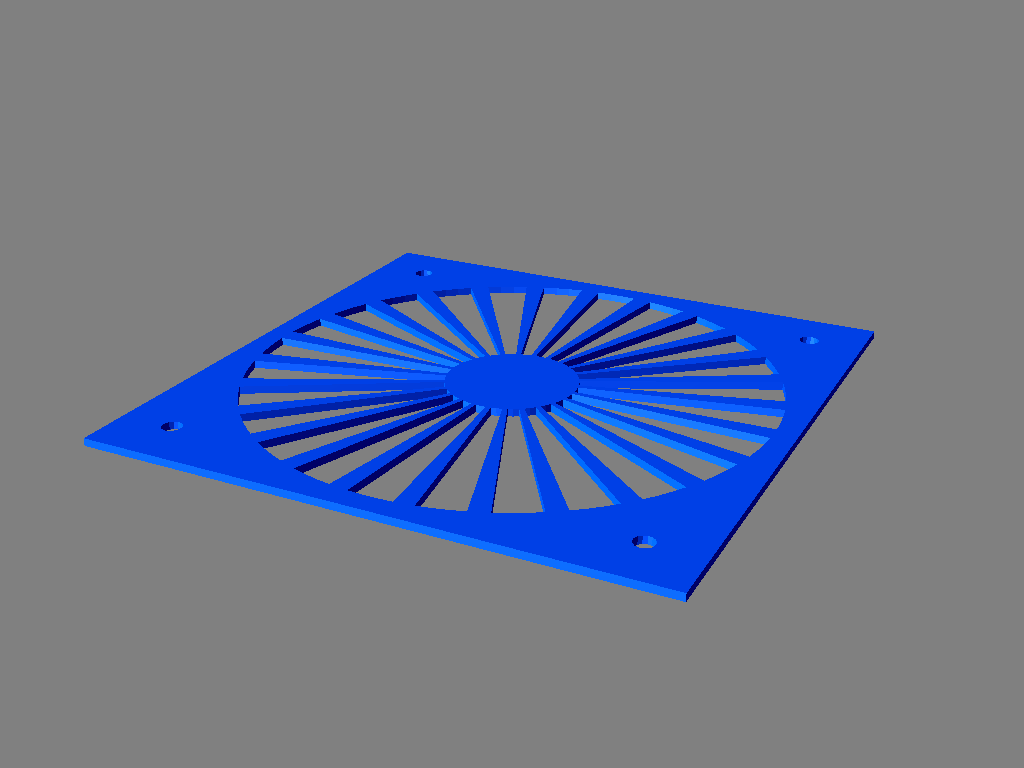
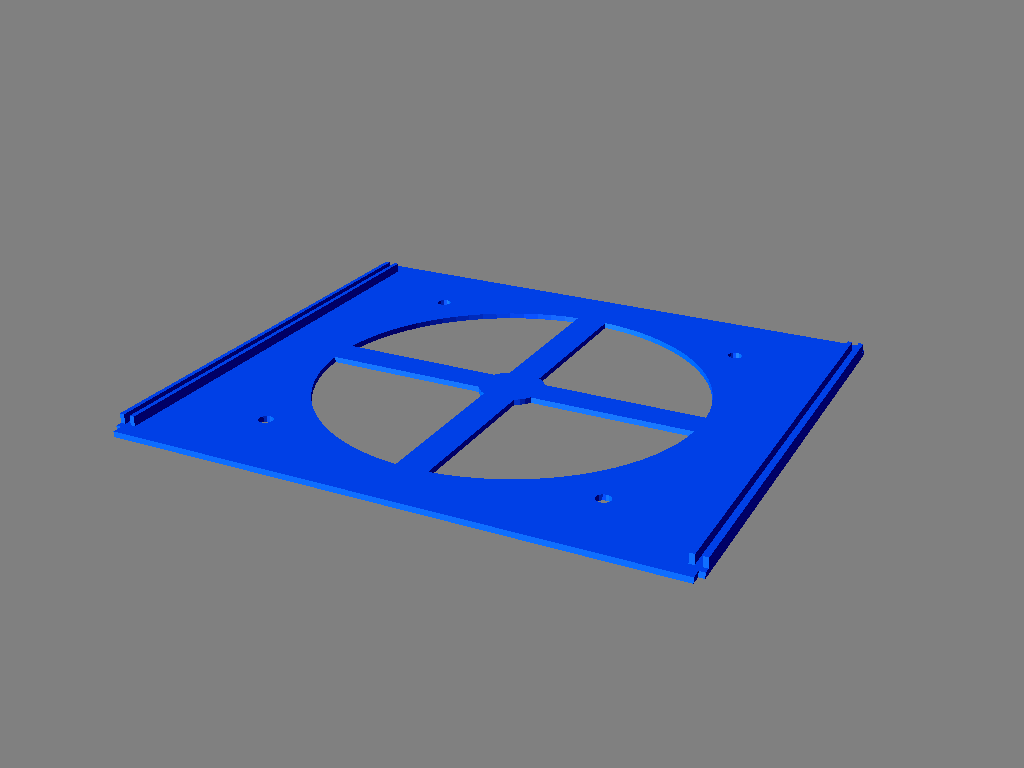
- one BackFilterGrid.stl
- one BackFanGrid.stl
- 120 mm computer fan up to 25 mm tick.
- a 120 mm x 120 mm carbon activated filter or another BackFanGrid.stl.
- 4 x 1" 1/4 #8 machine screws
- 4 x #8 nuts
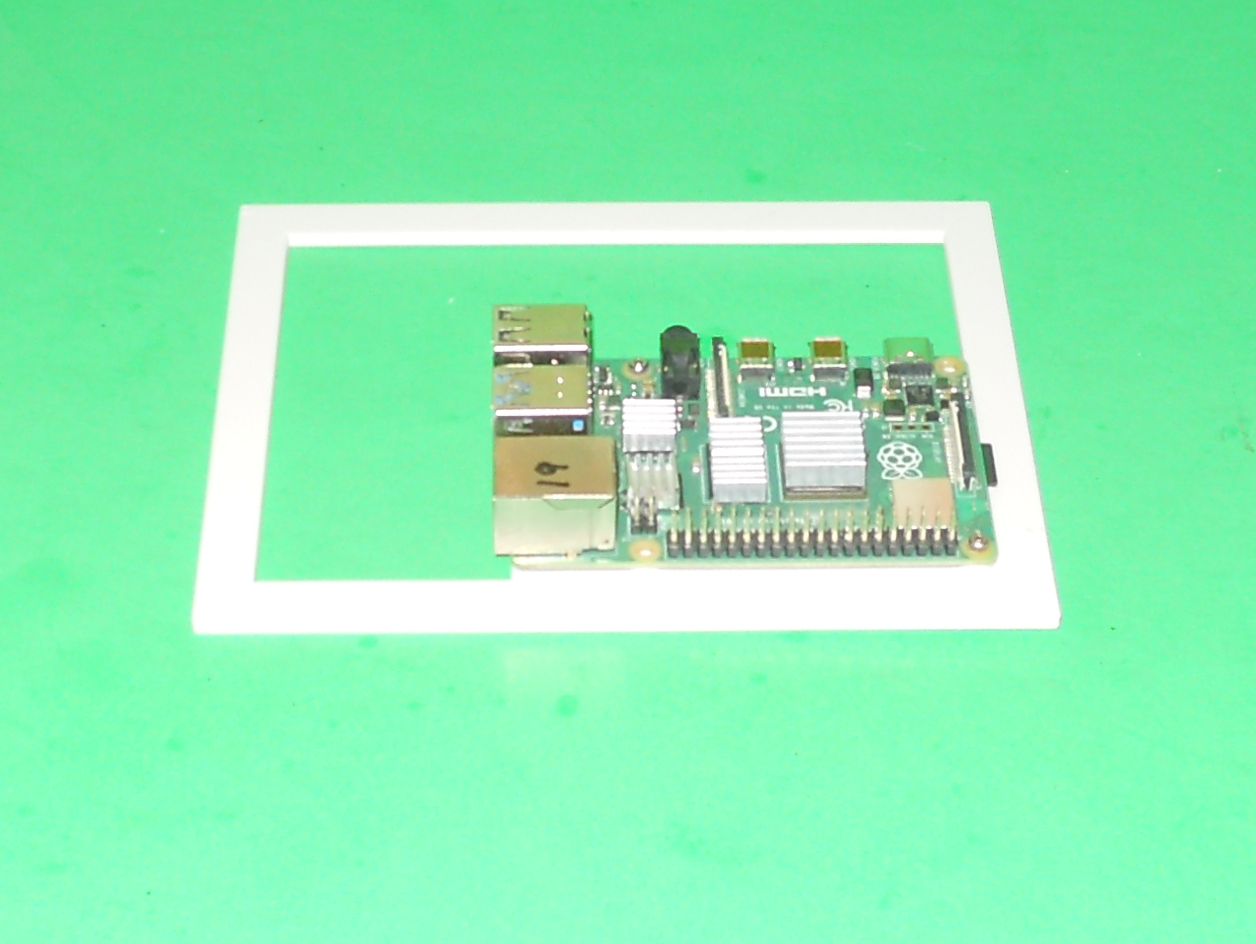
Raspberry PI Cards:
- three raspberry PI card (Raspberry PI Plate.stl)
- 6 x M2, 10 mm in length screws
- 6 x M2 nuts
Outer shell:
- one case bottom part (CaseBottom.stl)
- one case top part (CaseTop.stl)
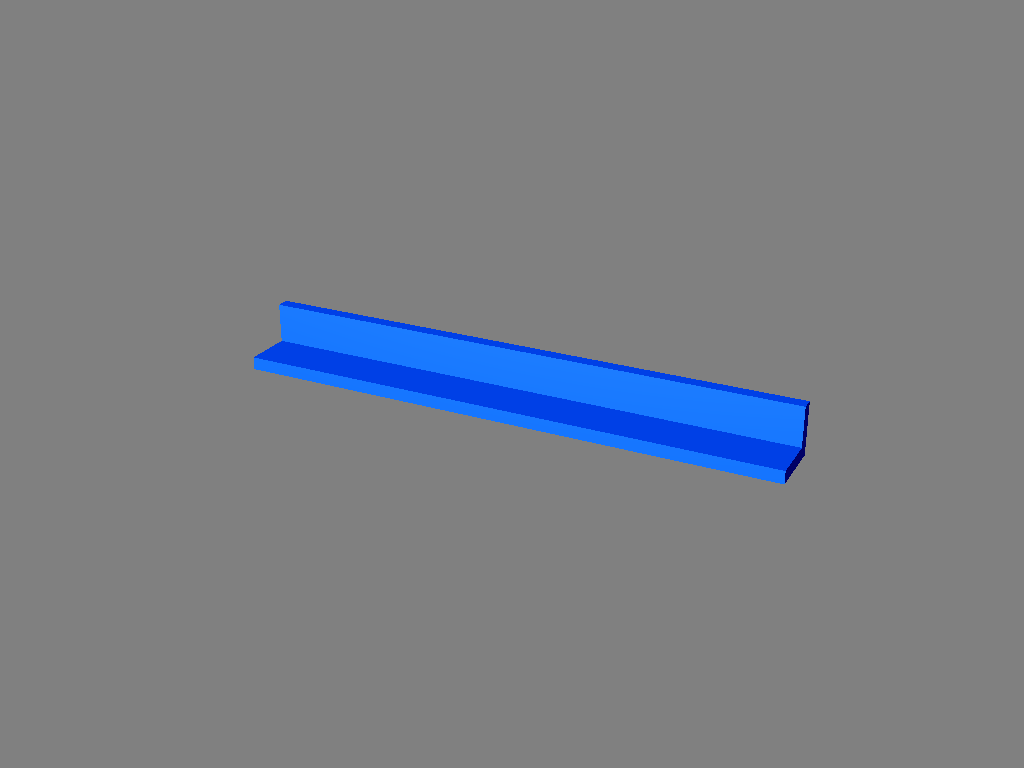
- two case sides (Sides.stl)
- one front part (FrontPanel.stl)
- 8 x M3, 8 mm in length screws
Assembly:
- Put 8 M3 brass inserts in the top (CardCageTop.stl) and bottom (CardCageBottom.stl) card cage parts. You may omit the brass inserts in the bottom card cage part if you decide to glue the part to the bottom outer shell.
- Assemble the card cage. A press fit assembly should be OK. Use some glue if the parts are loose. Make sure that the open end of the card guides are on the same side for the top and bottom parts of the card cage.
- Attach the card cage to the bottom part of the outer shell (CaseBottom.stl) using 4 M3 x 8 mm screw or some glue . Make sure the opening of the card guides of the card cage are near the edge of the outer shell.
- Assemble the fan assembly. Take care of the direction of the air flow. It should go through the air filter and then be pushed into the case. Use a few dab of glue on the nuts to secure them since you cannot tighten the nuts if you are using an air filter. I suggest to put another BackFanGrid.stl against BackFilterGrid.stl if you don't install a filter since the holes of BackFilterGrid.stl are quite large. Connect the fan to the terminal block.
- Assemble the power supply card. Take note that only 2 screws and nuts are used for each of the buck converters and the terminal block.
- Assemble the Raspberry PI cards. Take note that only 2 screws and nuts are used to secure the Raspberry PI to the card.
- Assemble the outer shell. Attach the top part of the outer shell (CaseTop.stl) with 4 M3 screws.
- ADJUST THE OUTPUT OF THE BUCK CONVERTERS BEFORE PLUGGING THE RASPBERRY PIS TO THEM.
- Wire the electronics
- Power your system. You might want to power each card one at the time at first.
This object was designed using Solid Edge Community Edition.
Files
|
|
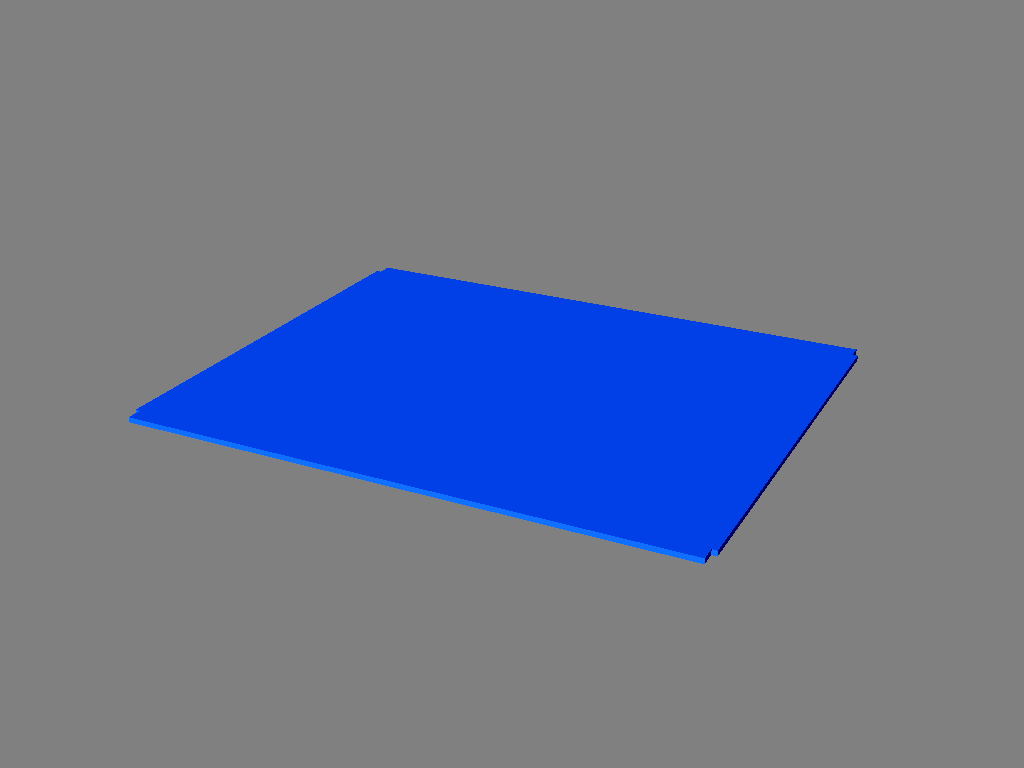
CaseBottom.stl |
|
|
CaseTop.stl |
|
|
FrontPanel.stl |
|
BackFilterGrid.stl |
|
|
BackFanGrid.stl |
|
|
Sides.stl |
|
|
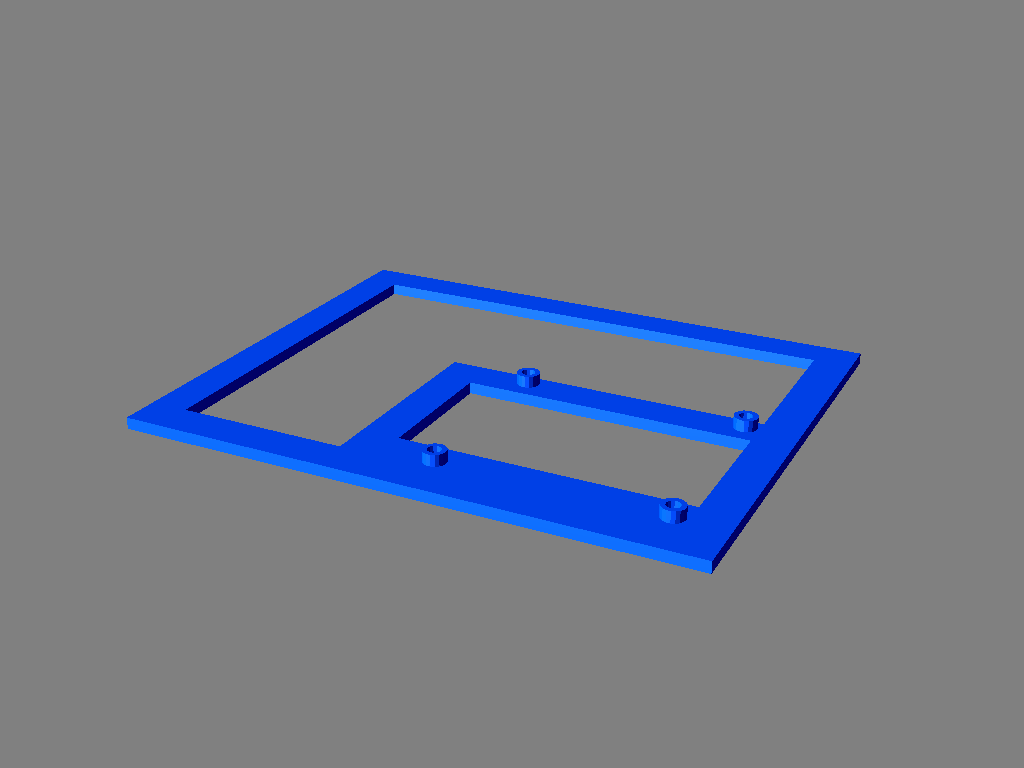
CardCageBottom.stl |
|
|
CardCageTop.stl |
|
|
Post.stl |
|
|
Power-Supply-Plate.stl |
|
|
Raspberry-PI-Plate.stl |
This object is also published on the following site(s):
The source files are available
You may request the source file(s) for this object by posting a comment below. Your email address will be used solely to deliver the requested source files and for no other purpose.
By requesting the source files, you are granted permission to:
- Share — Copy and redistribute the material, excluding the source files, in any medium or format.
- Adapt — Remix, transform, and build upon the material.
By requesting the source files, you also agree to:
- Give appropriate credit, provide a link to the license, and indicate whether changes were made. You may do so in any reasonable manner, provided it does not suggest that the licensor endorses you or your use.
- Not use the material for commercial purposes.
- Distribute any derivative works under the same license as the original if you remix, transform, or build upon the material.
- Not apply legal terms or technological measures that legally restrict others from exercising the rights granted by this license.
- Not upload the source files or modified versions of the source files to any website or file-sharing service. They are provided for your personal use only. However, you may freely upload and distribute any STL or OBJ files generated from them.
If you do not agree to all of these conditions, please do not request the source files.
Copyright 2012–2026, Claude "Tryphon" Théroux